Over time I have tried different methods of curing roe until I have found one that I feel the most confident with. At first, using borax and vacuum sealing roe was the typical routine. Cutting roe into pieces before curing allows more cure to get into the eggs and vacuum sealing into jars allows for the eggs to soak in the juice before freezing. This is a ten day curing method that where the eggs will release the juices, reabsorb them, release and reabsorb. There’s not one way that is right or wrong. It is personal preference. Some prefer roe to be dry others wet. Most of this is due to how messy it can be when handling it.
When gutting the fish, I place the roe into a container until I am ready for the curing method. I typically cure the roe once I’m done filleting the fish.
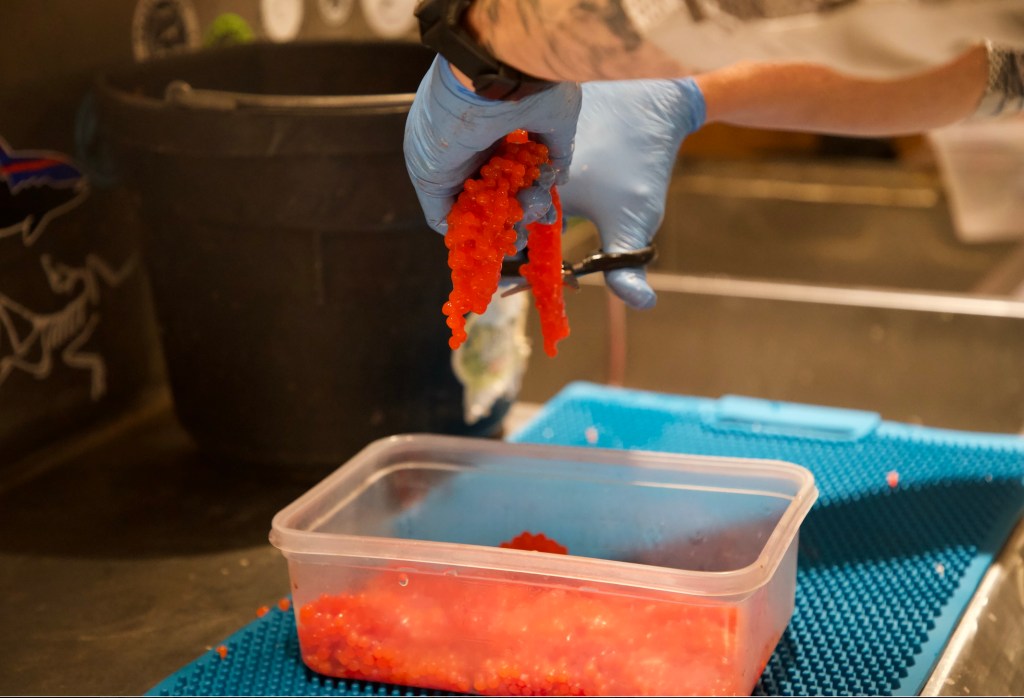
STEP !: Butterfly the roe by cutting down the center of the skein.
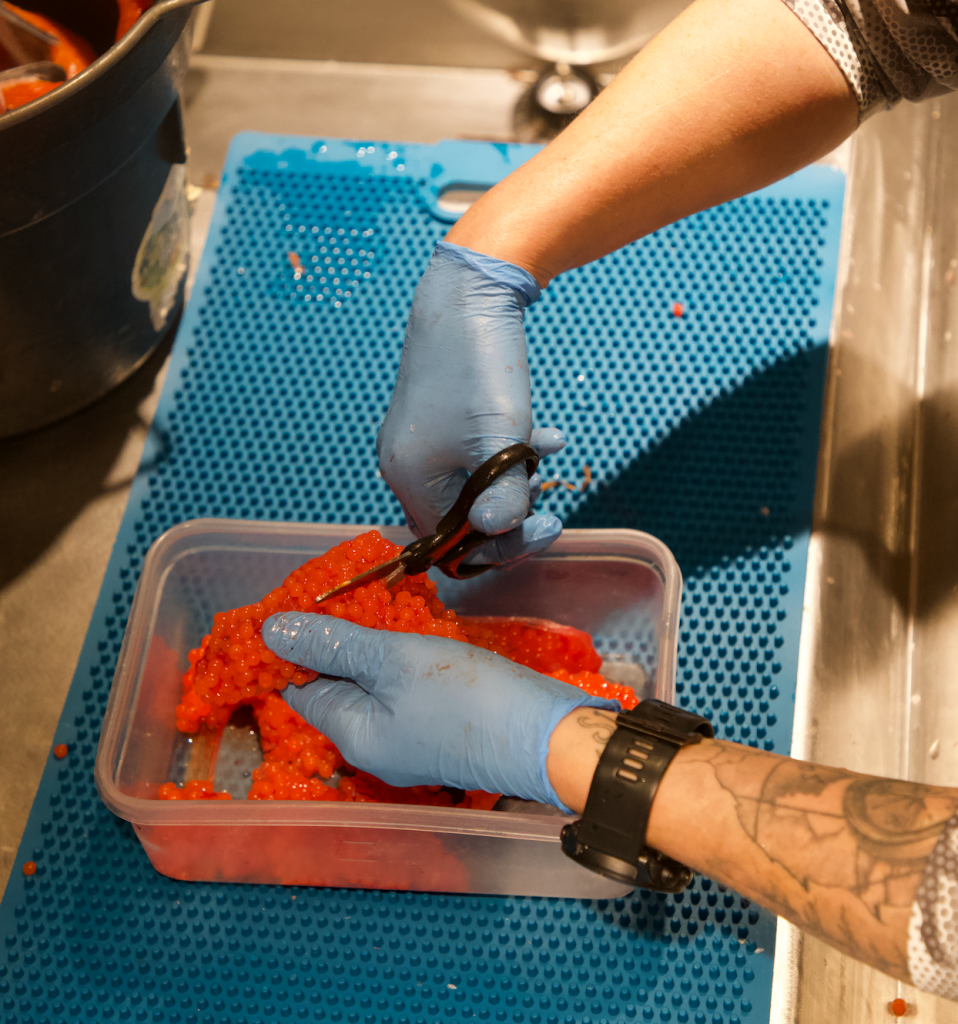
STEP 2: Once the skein is butterflied, I cut into pieces the size that bait a hook with.
STEP 3: Sprinkle sodium sulphate lightly over the eggs. All cures have this in their recipe but having a little more added helps to toughen the eggs and add scent. Once it is sprinkled on, massage the eggs and turn them so they all get covered.
STEP 4: Choosing your favourite cure (any colour or natural), sprinkle liberally over the eggs. Again, massage into the pieces. Based on the colour of the eggs you can add more cure if needed.
STEP 5: Poor the eggs into a glass jar. Place the jar into the fridge. The salt content and cure will draw the juices from the eggs. Around day 2, rotate the jar so the eggs get covered in the juices again. Over the next couple days, the eggs will reabsorb the juices and then excrete them again. Around day 8-10 I will vacuum seal the jar and place in the freezer.
STEP 6: Take the jar out the night before you are going to use it. I pour some of the roe into a small container which I use when fishing and fill up as needed.
STEP 7: SET THAT HOOK! Fish will be biting!!
